quick coaching
The 3 Best Alignment Stick Drills to Play Better Golf
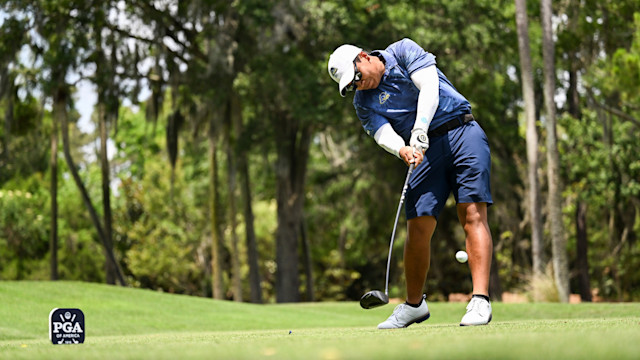
By Brendon Elliott, PGA
Published on

After 20+ years of coaching golfers of all levels, I can tell you this: you don't need fancy equipment to improve your game. I've seen more progress from students with alignment sticks and a smartphone than from those who bought the latest $500 driver.
What you feel in your swing and what's actually happening are often completely different. I see this daily. Your smartphone bridges this gap, showing you exactly what's happening, while alignment sticks provide the visual boundaries that groove proper movements. Together, they're golf improvement gold.
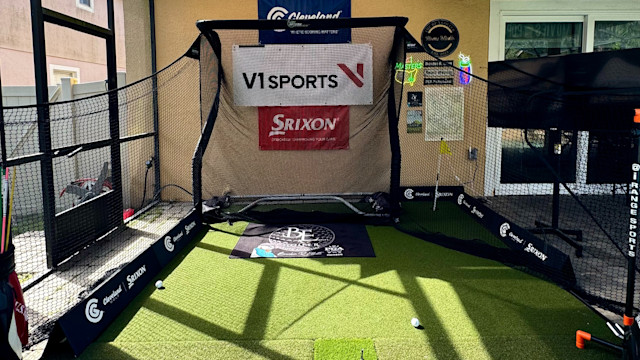
Simply find a space with about 8 feet of clearance, grab a couple of alignment sticks (under $20 at any golf store), and set up your phone on a stand or chair at hand height. Make sure you've got good lighting so you can analyze your movements clearly.
Let me share a few of my favorite at-home practice routines that have transformed countless of my students' swings.
Drill 1: Fix Your Swing Path
Things You Will Need:
Two alignment sticks, your phone and your club
Steps:
- Place both sticks on the ground parallel to each other, 4 inches apart, pointing at your target
- Address an imaginary ball at the inside stick
- Record your swing from the down-the-line view
- Make slow swings, keeping your club between the sticks
- Review your footage. Your clubhead should stay in the channel during the initial takeaway, pre-impact, impact, and post-impact.
Pro tip: I've fixed countless slices with this drill. When you come "over the top," you'll immediately see your club cross the outside stick during your downswing. Keep practicing until your club stays between the sticks consistently during the points in the swing mentioned in step 5.
Drill 2: Groove Your Swing Plane
Things You Will Need:
One alignment stick, your phone and your club
Steps:
- Secure the stick at an angle pointing toward your trail shoulder in the address position
- Record from the down-the-line view
- Make slow swings, keeping your club shaft parallel to the stick
- Check your video for consistent plane relationships
Pro tip: This drill transformed my own swing years ago. The biggest mistake I see is golfers getting "flat" at the top and then "steep" coming down. Focus on maintaining that parallel relationship between your swing plan and the alignment stick throughout your swing.
Drill 3: Master Your Body Rotation
Things You Will Need:
One alignment stick, your phone and your club
Steps:
- Place the stick across your shoulders
- Record from a face-on view
- Swing focusing on turning your shoulders so the stick points perpendicular to your target line at the top
- Watch for your hips leading the downswing while your shoulders stay back
Pro tip: After coaching thousands of amateurs, I'm convinced that poor rotation causes 80% of power leaks. When reviewing your footage, look for a complete shoulder turn with the stick pointing behind the ball at the top, followed by the hips leading on the downswing while the shoulders stay back initially. This creates the separation that generates real power.
Final Thoughts
When reviewing your videos, don't try to fix everything at once. Pick one position to improve, make small adjustments, and record again. I've seen dramatic improvements from students who practiced just 15 minutes daily with these drills.
Remember, the best swings aren't the prettiest—they're the most repeatable. These drills will give you the feedback to build consistency that transfers directly to the course. That's a promise from a coach who's seen it work hundreds of times.
Practice smart, and you'll soon step up to the first tee with a more confident and powerful swing.
PGA of America Golf Professional Brendon Elliott is an award-winning coach and golf writer. You can check out his three weekly columns on RG.org, and to learn more about Brendon, visit OneMoreRollGolf.com.